
Post by DeathNoble on May 23, 2010 11:19:27 GMT -5
Hello loyal users. I got some questions about recoloring sprites, probably seeing as how I recolored the Syakomon sprite into the Evil Syakomon sprite. This will be a tutorial on how I did it and how to do it yourself. Please note while writing this, I'll be drinking. So take that into account when you start seeing typos everywhere. First, things you'll need.
1.) The sprite You may save these right off the site.
2.) Irfanview Get it here
3.) MS Paint ~optional, your computer comes with it, as long as you're using windows and not a Mac. If you are using a Mac, then just leave. No really, just get out and go buy a grown-up's computer.
4.) GIMP Get it here.*
*Photoshop= The program people with money use. If you're broke and can't buy Photoshop, use GIMP. If you've got the money to waste, but Photoshop. I happen to be broke, so this tutorial will be made using GIMP. All we're going to be using it for here is to re-animate the frames after you're done coloring.
Step one. Save the sprite. Pretty self-explanatory.
Step two. Rip apart the frames. Little tricky. Here, we'll be using Irfanview program to do so.

I suggest going ahead and setting Irfanview as your default program for opening all .gif images.
Now, of course, you can't recolor an animated image, so you'll have to take the sprite apart.
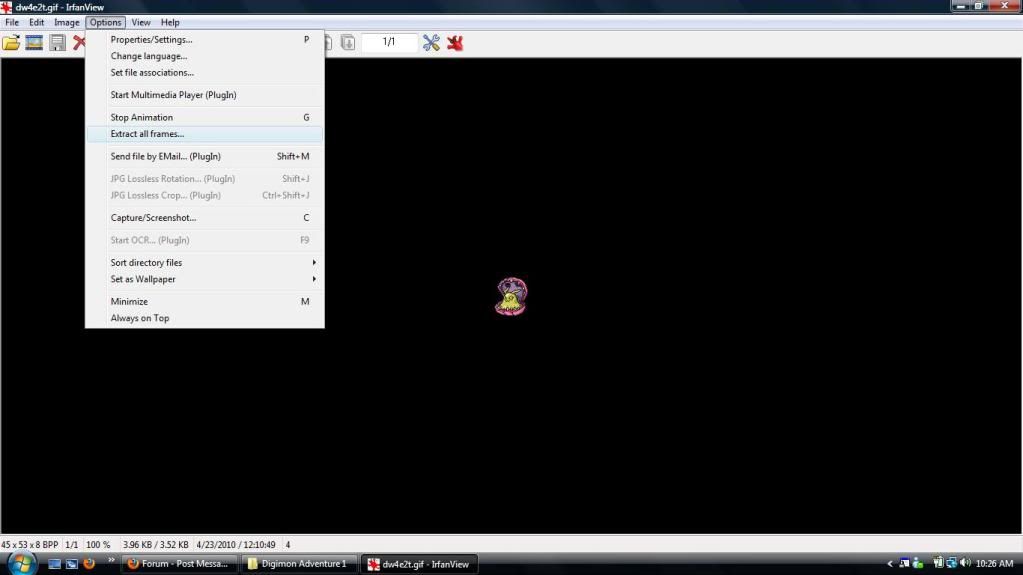

Now,pay careful attention. One thing you want to make sure of is that you're saving the images as .png format, and with transparent backgrounds.
(Yes, the red squares are censor. I'm a single guy & I live alone, you don't need to see what's on my hard drive.)
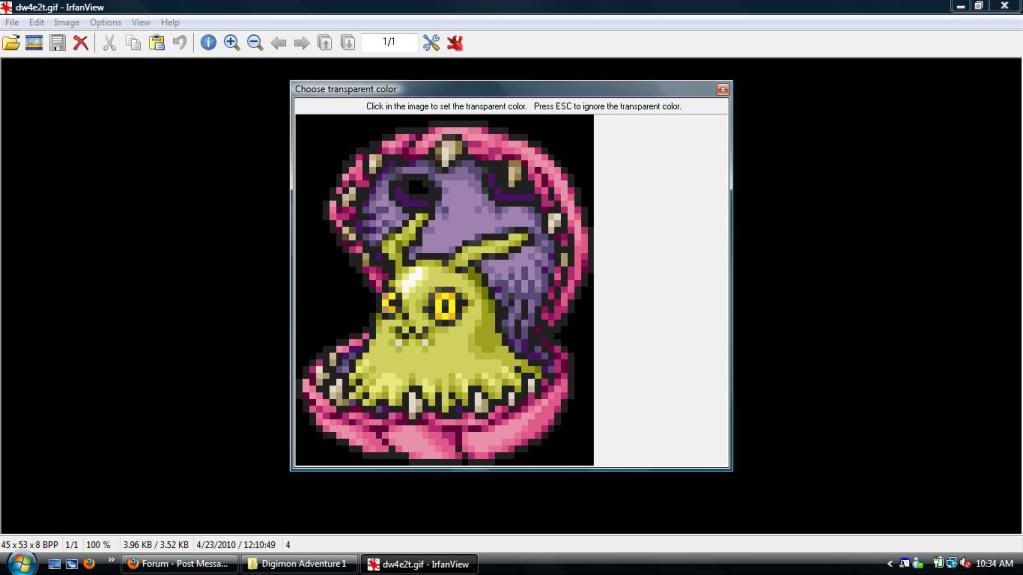
This will pop up. This is for selecting the color you want to set as transparent. Here, be very careful to click on the background. Don't click on the Digimon.
This will happen four time, due to the fact that there are four frames in the sprite. Each time, repeat the process, being very careful to click only on the background of the image itself.
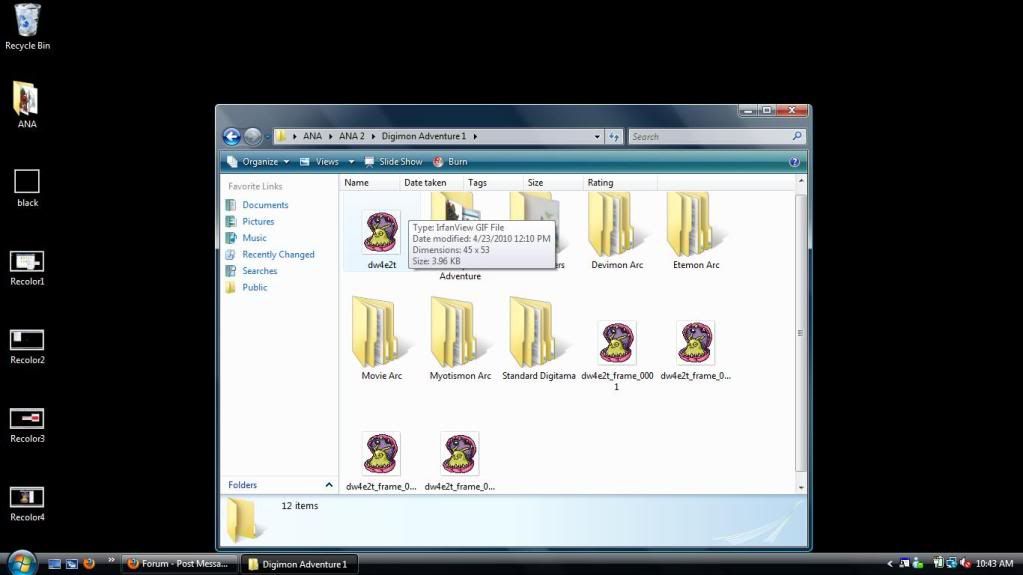
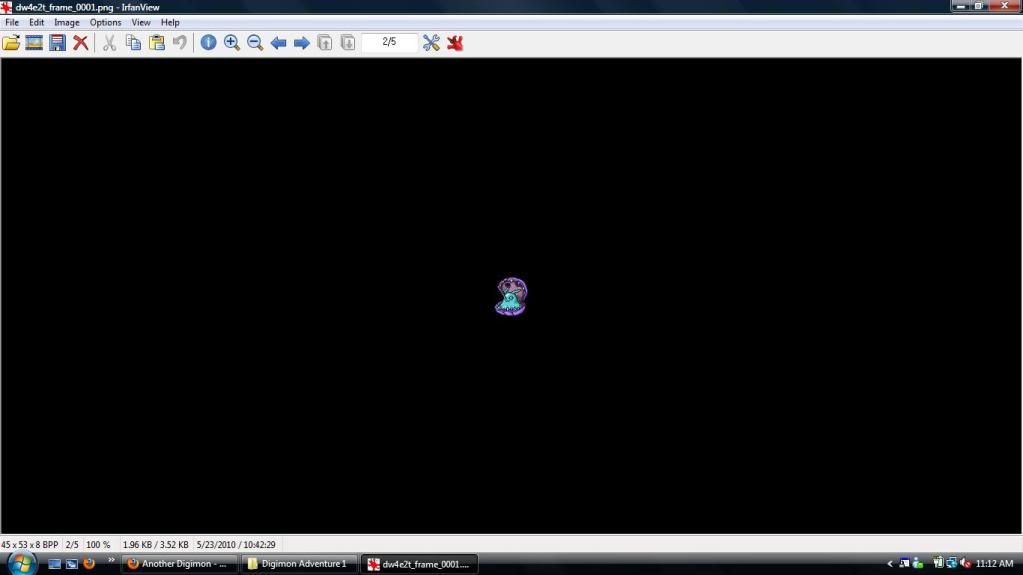
So now you got each frame. The Syakomon in the upper left is the original image. Keep it, so if you screw up, you can always start over. Open the first frame with Irfanview.
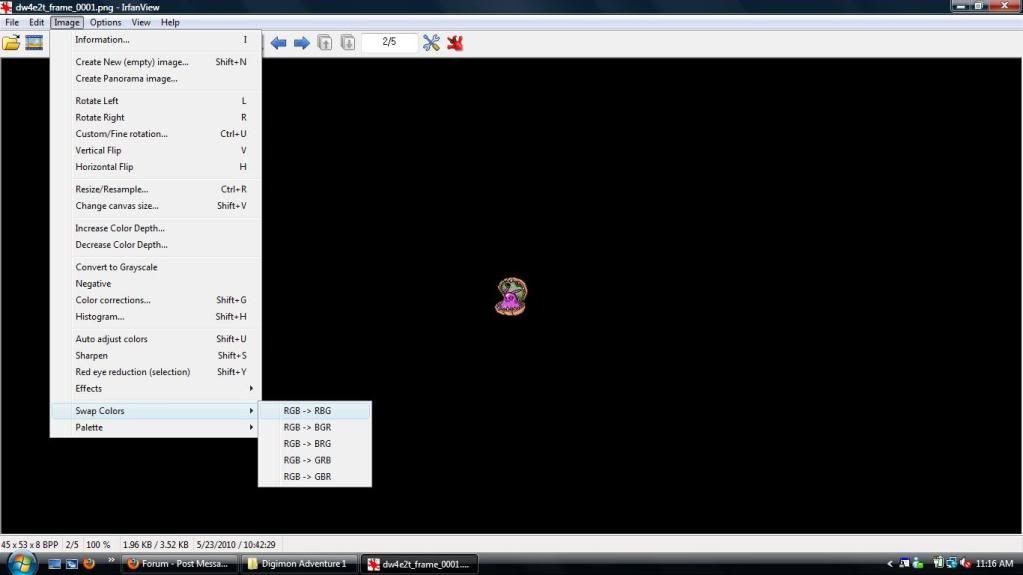
Now, the way I recolored these sprites was using Irfanview's color swap. What this does is switch colors around on the color wheel. For those of you whom never took an art class, here's a small lesson: there's only three colors in this world. Yellow, blue, and red. All other colors are just combinations of these three colors. Purple = blue + red, orange = yellow + red, green = blue + yellow. And those are with a 50/50 ratio of each color. Changing the amount of the color, say 75% red and 25% blue will net you a different shade of purple.
So! What this does essentially is swap the colors of the image around. You can choose to go red to green & green to yellow & yellow to blue or any combination of them.
For Evil Syakomon, I went red to blue, yellow to yellow, and blue to red. Note for some reason, Irfanview abbreviates yellow as G...

And that's what you get! Using other color swaps will net you other colors, such as....
Using red to red, yellow to blue, & blue to yellow will net you this.
But at any rate, we're doing Evil Syakomon. So, starting back at the R>B, G>G, & B>R.... We have to do that to all the rest of the frames. So repeat the process for the other three frames.

Now we've got all our frames colored. Now we need to put them back together. That's where GIMP comes in.
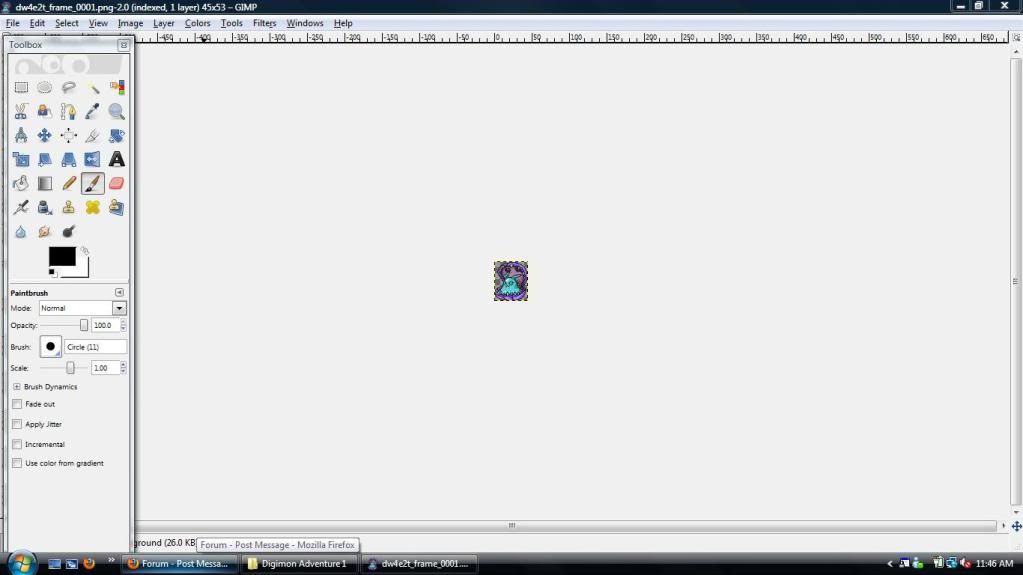
Go ahead and open the first frame with GIMP. Now the way we open the next three frames is important.
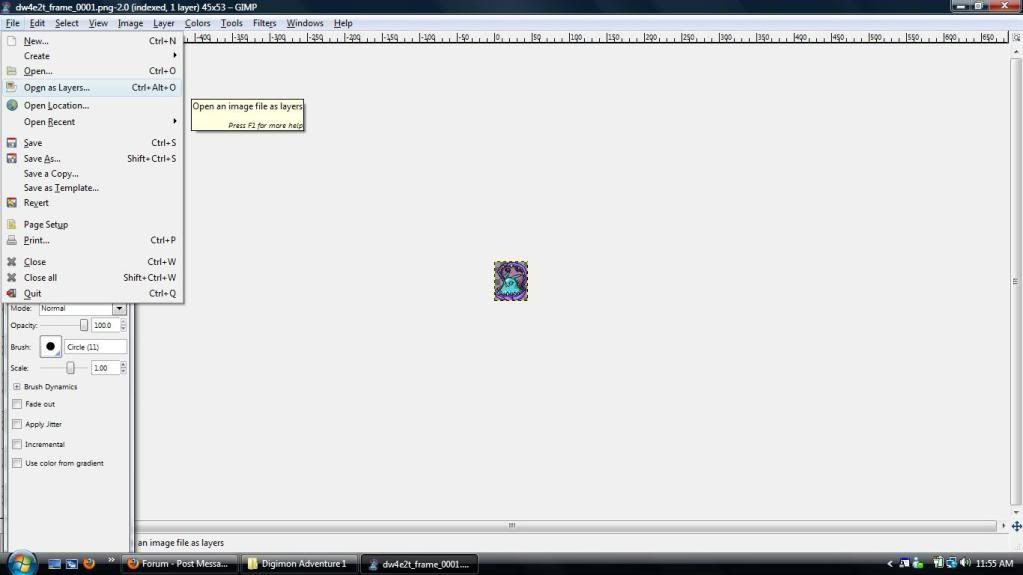
You must open the next three frames as layers, by doing so like in the above picture.
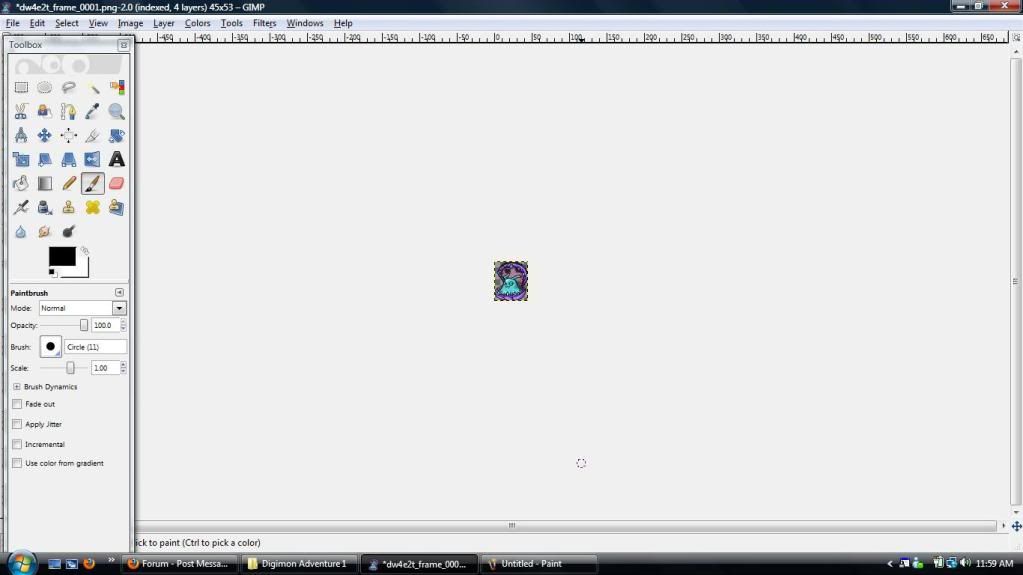
You'll end up with this. Now, the next step is saving it as an animated .gif file. We're almost there!
Go to save the image and of course, choose save as, not save.
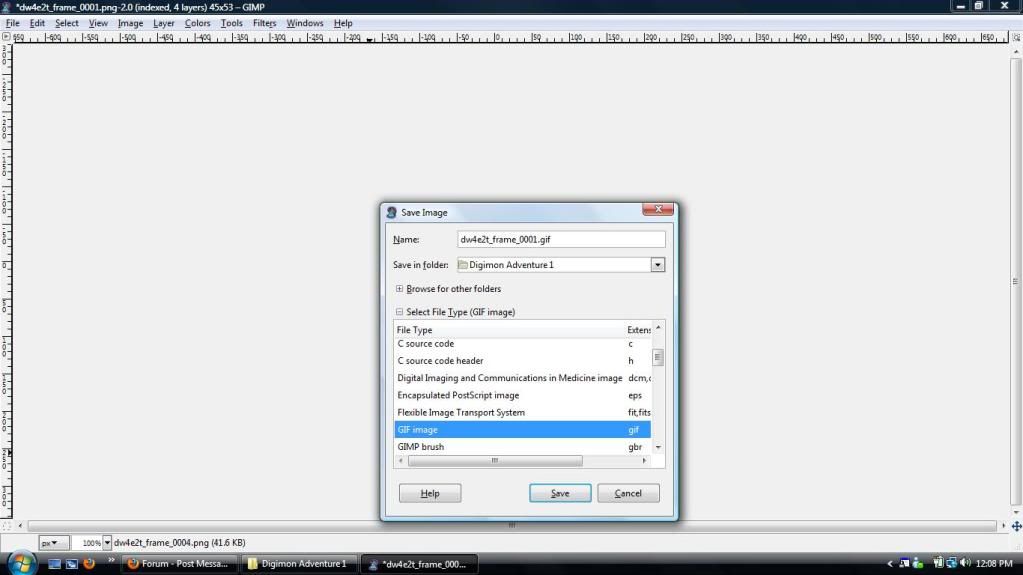
You of course, want to set it to a .gif file format.
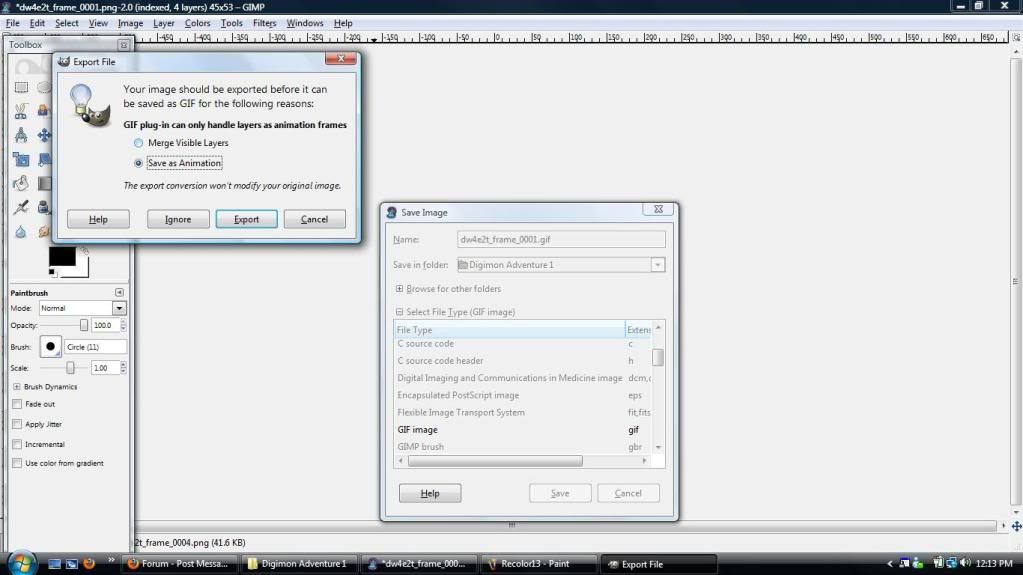
When this pops up, of course, choose save as animation then hit export.

Make sure you follow every setting in the above picture. 375 milliseconds, on frame per layer replace, and use delay entered above for all frames.
Then save, viola! You're done!

And that's how we recolor a sprite using Irfanview & GIMP.
1.) The sprite You may save these right off the site.
2.) Irfanview Get it here
3.) MS Paint ~optional, your computer comes with it, as long as you're using windows and not a Mac. If you are using a Mac, then just leave. No really, just get out and go buy a grown-up's computer.
4.) GIMP Get it here.*
*Photoshop= The program people with money use. If you're broke and can't buy Photoshop, use GIMP. If you've got the money to waste, but Photoshop. I happen to be broke, so this tutorial will be made using GIMP. All we're going to be using it for here is to re-animate the frames after you're done coloring.
Step one. Save the sprite. Pretty self-explanatory.
Step two. Rip apart the frames. Little tricky. Here, we'll be using Irfanview program to do so.
I suggest going ahead and setting Irfanview as your default program for opening all .gif images.
Now, of course, you can't recolor an animated image, so you'll have to take the sprite apart.
Now,pay careful attention. One thing you want to make sure of is that you're saving the images as .png format, and with transparent backgrounds.
(Yes, the red squares are censor. I'm a single guy & I live alone, you don't need to see what's on my hard drive.)
This will pop up. This is for selecting the color you want to set as transparent. Here, be very careful to click on the background. Don't click on the Digimon.
This will happen four time, due to the fact that there are four frames in the sprite. Each time, repeat the process, being very careful to click only on the background of the image itself.
So now you got each frame. The Syakomon in the upper left is the original image. Keep it, so if you screw up, you can always start over. Open the first frame with Irfanview.
Now, the way I recolored these sprites was using Irfanview's color swap. What this does is switch colors around on the color wheel. For those of you whom never took an art class, here's a small lesson: there's only three colors in this world. Yellow, blue, and red. All other colors are just combinations of these three colors. Purple = blue + red, orange = yellow + red, green = blue + yellow. And those are with a 50/50 ratio of each color. Changing the amount of the color, say 75% red and 25% blue will net you a different shade of purple.
So! What this does essentially is swap the colors of the image around. You can choose to go red to green & green to yellow & yellow to blue or any combination of them.
For Evil Syakomon, I went red to blue, yellow to yellow, and blue to red. Note for some reason, Irfanview abbreviates yellow as G...
And that's what you get! Using other color swaps will net you other colors, such as....
Using red to red, yellow to blue, & blue to yellow will net you this.
But at any rate, we're doing Evil Syakomon. So, starting back at the R>B, G>G, & B>R.... We have to do that to all the rest of the frames. So repeat the process for the other three frames.
Now we've got all our frames colored. Now we need to put them back together. That's where GIMP comes in.
Go ahead and open the first frame with GIMP. Now the way we open the next three frames is important.
You must open the next three frames as layers, by doing so like in the above picture.
You'll end up with this. Now, the next step is saving it as an animated .gif file. We're almost there!
Go to save the image and of course, choose save as, not save.
You of course, want to set it to a .gif file format.
When this pops up, of course, choose save as animation then hit export.
Make sure you follow every setting in the above picture. 375 milliseconds, on frame per layer replace, and use delay entered above for all frames.
Then save, viola! You're done!
And that's how we recolor a sprite using Irfanview & GIMP.

